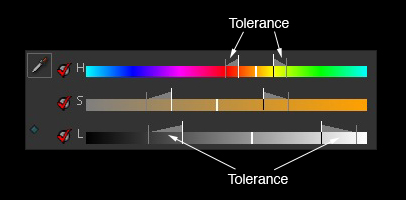
Key Tolerance vs. Key Blur – Tolerance ramps down the colors that are keyed instead of a hard stop. Blur softens the matte. Use tolerance to fine-tune a key that won’t pick up something fully. Use key blur to soften noisy or hard edge keys
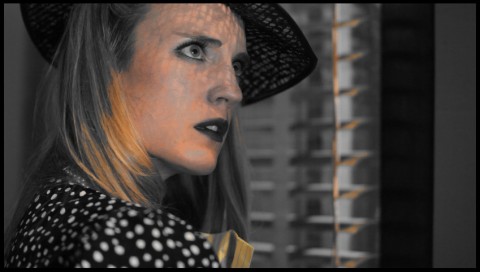
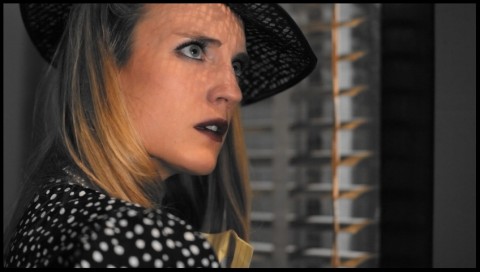
This is best demonstrated visually. Here’s a key with no tolerance:
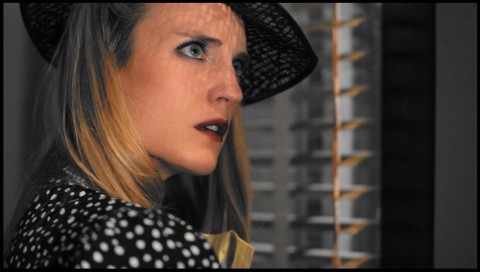
Tolerance let you pick up similar color values, less and less as you get away from your “end” marking. Here’s the same shot with a good amount of tolerance on H, S, and L:
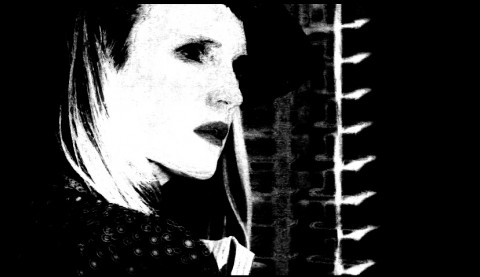
Key blur works differently. It doesn’t change what color values key keyed. Instead, it looks only at the black and white matte, and blurs it:
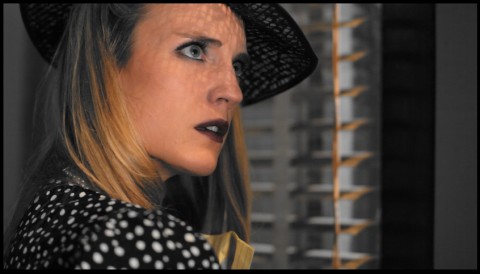
The matte looks kinda noisy or blocky doesn’t it? There’s also a harsh end to the key on her hair. This is with the key blur up (to 4, a relatively small amount for 1080p footage):
Key blur applies a blur “filter” (as editors might think) to the matte of the image, giving softer edges and smoothing out some noise. It won’t work in every situation, and please resist the urge to crank up key blur really high. Small values work wonders. If you have to crank it up super high, you might try adjusting the key and tolerance itself to get a cleaner matte.
(FYI, you can click on any image in my posts to see a bigger image if you want to inspect closer)



01/26/2011, 8:28 pm