The last main question to ask yourself when working on Secondary Color Correction: “How can I make my subject look better?” One of your jobs as a colorist is to make your subject look as good as possible. Your grade should flatter them.
Our job as a colorist is to make the shot look awesome, and this definitely includes the subject. As colorists, we should make the subject look as good as possible. This especially applies to female characters, but even male characters need s little enhancing now and then. We’ll go into some advanced techniques for this (skin softening, subtle relighting, highlight bloom and “silk stocking” effects, etc.) in future tips.
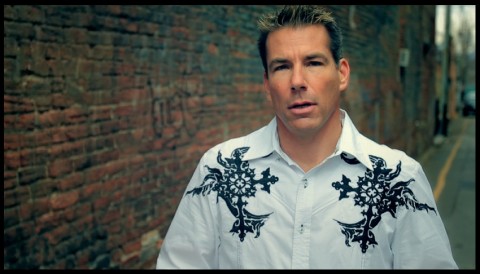
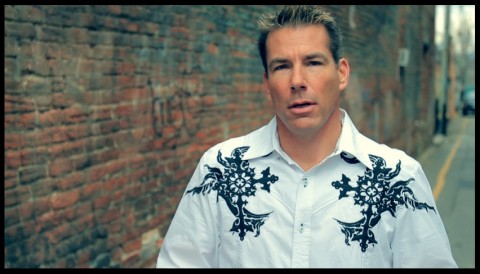
To intro this, we’ll finish up the shot that we’ve been working on for the last few posts. Here’s where we left off:
We had a great make-up artist on this shoot, so I didn’t feel like I needed to do any skin softening on him. The first thing that I did think would make him look better is pulling his skintones down in saturation a bit. He looks a little too orange in this shot for my taste, even if it is the trend. So, we’ll pull a key on his skin:
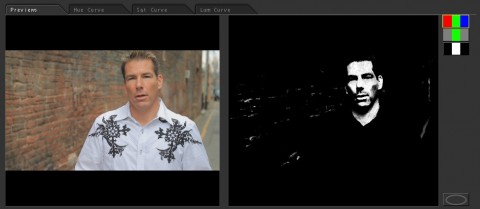
Here's the matte for the key. There's a little in the brick, but it won't be an issue (I watched the footage to make sure it wouldn't)
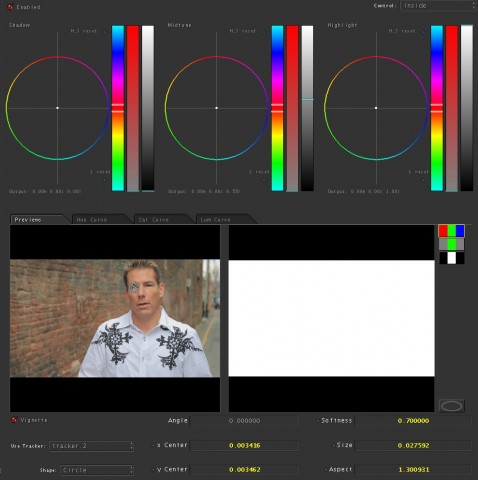
Now that we’ve taken care of that, the other thing that we can work on is his eyes. With the lighting that day, coupled with his heavier brow, his eyes were really dark, so we’ll lighten them up. The first thing I did for this was track each eye in the shot, but we’ll go into tracking later. After that, I created a small, semi-soft circle vignette and lightened up the mids just a tad:
Then I’ll do the same for the other eye:
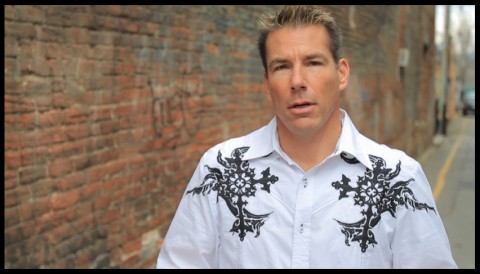
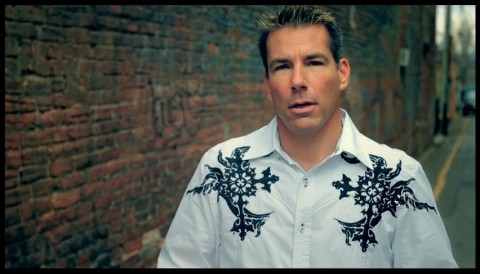
There we go, the final grade for the shot! Here’s a look at the steps it took to get here:
There you go!











01/23/2011, 1:46 am