When developing a look, you have to consider what your problem shots can handle without artifacting, or getting too noisy or grainy. If your weak shots begin to show artifacting or noise under the look, it’s too aggressive; try something else.
Your look for a scene has to fit every shot in the scene. Make sure the look you are planning on will work with the problem shots in the scene without artifacting, color banding, getting to noisy, grainy, etc.
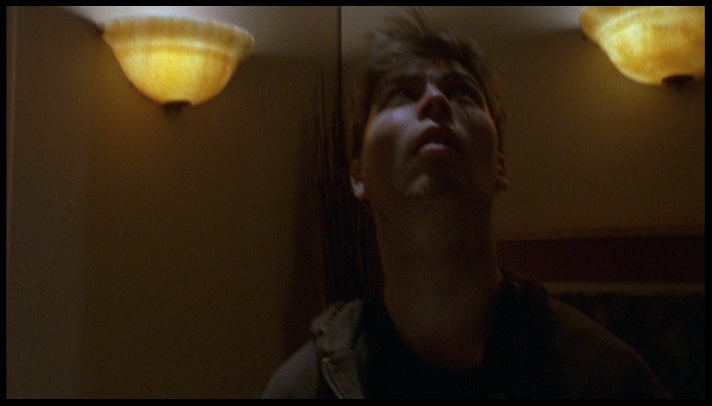
In this example, the original footage was shot on 16mm, so it was a little grainy to begin with. The scene called for the “power” to be cut mid-shot, and the lights to mostly go out. Here’s a frame after the “lights” went out:
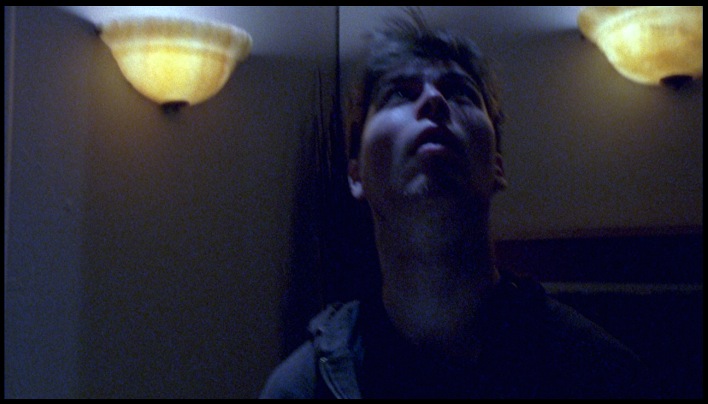
The original look I wanted was a very blue look, almost “day for night.”
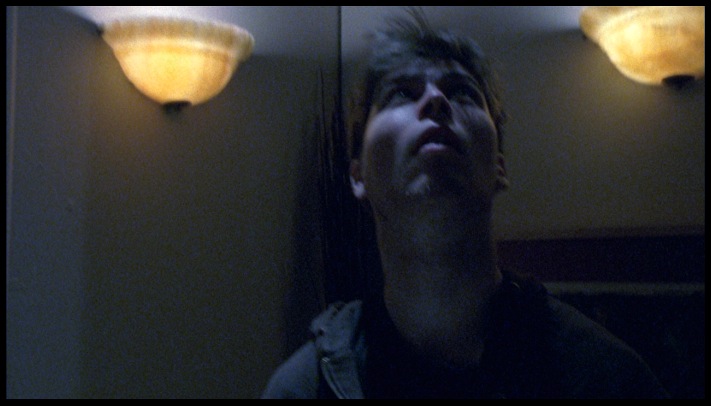
The look I wanted brought out too much of the grain because it was too aggressive. I ended up pulling it back an little and adjusting the look to this:
I knew this was going to be a problem shot when I graded, so I tried my look on this shot first to make sure it would take well. The other shots in the scene after the lights went out were brighter, so I knew I could apply this look without bringing out too much grain. Making sure my look worked for the problem shot(s) made sure that it would work for the whole scene without issue.

