I got such a great response on my last post-production time-lapse that I decided to do another one for a big project I did at my day job for the United Way of Metropolitan Nashville and their Stuff the Bus 2013 Days of Action. This was a fun project that had editing, but also included a much heavier motion graphics element than the KIPP video I did, so it seemed like it would be perfect to record my screen as I worked. Here’s the time-lapse of my work on it:
And here’s the finished piece:
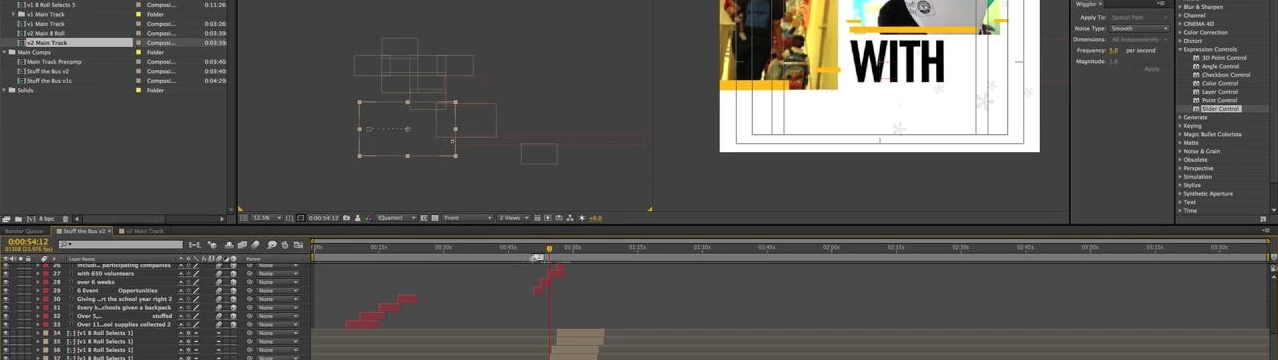
For those curious, all of this footage was shot on Panasonic HVX200’s. I did all of the editing in Premiere CC and all of the motion graphics and color grading (there wasn’t too much of it on this project due to deadlines) in After Effects CC. The only two non-standard plugins I used were Trapcode Particular and Magic Bullet Colorista Free.
If you have any questions about my workflow, what’s happening at a specific part of the video, how I did one part or another, just let me know in the comments. I’d be happy to answer them!


08/29/2013, 2:43 pm
08/30/2013, 11:21 am
Hmm, grabbing all of the broll shots into one long timeline is an interesting idea. Looks like you then go through and bump every shot you like to track 2?
08/30/2013, 2:17 pm
Pulling a selects timeline is a normal thing for me to do (then use pancake editing), but bumping up what I like was specific to this project. The ones that got bumped went into my “primary” storyline, while the rest were used in the other floating “screens” throughout the piece, so both we’re used.
Generally I just do one layer of selects then pull from there into my main timeline as needed. I *might* bump it up to a disabled track instead of deleting it from the selects timeline after I’ve used it if I need to use the same selects for multiple videos, but that didn’t apply to this project.
08/30/2013, 3:51 pm
Gotcha. That’s a cool system, particularly for the floating screens. And pancake editing! Never heard of that, but I like the concept. I have learned so much today. Thank you.
09/04/2013, 9:46 am
Hellow Aaron, first of all escuse for my english but I´m rwitting you from Catalonia and my english is not well.
I only one question: the After Effects render of the entire project is in 8 Bit color mode or you render it in 16 or 32 Bits? What is the difference?
09/05/2013, 9:41 am
Unless I need the extra bit depth for some sort of effect (like blooming highlights or superwhites) or to smooth out color banding, I generally render in 8bit color. The higher bit depths give a better color result, but can take much longer to render. In most cases, the speed tradeoff isn’t worth it unless I’m dealing with one of the instances I mentioned in the last sentence.
10/20/2013, 11:14 am
Thanks for sharing. What did you use to screen grab-create the time-lapse?
10/20/2013, 2:33 pm
I used Screenflick. It was great, because it could record the whole screen but save to a downsized version to save me some file-space (which was necessary with so many hours of editing involved).
11/04/2013, 5:41 am
Hi Aaron, I’ve been following your blog for a while and I’ve learned some interesting editing and grading techniques. What blew my mind when watching this particular project of yours was the tight deadline and how well you managed to pull that off.
Even though I watched the timelapse frame by frame, I’m still confused about one thing. Could you tell me how you imported your edits into AE and put them into those floating screens? As far as I get it, you imported your whole timeline into AE. It’d be great if you could explain this a little bit.
Thanks a lot.
11/04/2013, 12:48 pm
For this particular project I actually had 2 timelines: A “primary storyline” timeline with the interview segments and appropriate b-roll cut in, and a separate b-roll selects timeline with all of the other good b-roll shots in it. I brought both of these timelines over to After Effects using dynamic link. The timelines were precomposed, and there were 5 different precomp versions of the b-roll timeline, each one with a different variation of the yellow lines.
I laid out all of the floating “screens” using one of the b-roll precomp and the main storyline precomp, animated my camera moves, then went back and slipped the b-roll storyline around at each instsance to have variation in what b-roll was shown and avoide repeating sections if possible, and did an option-drag to randomly replace the single instance of the b-roll precomp with one of the other variations of the yellow lines.
I know it’s a little bit complicated, but I hope that explains what you’re watching better. Definitely let me know if you have any more questions.
11/04/2013, 7:29 pm
Well, that explains it clearly. Thanks again Aaron for sharing your knowledge, and good luck on your future projects.