The push/pull method is where you push to a color in one tonal range, then pull it back in another to preserve skintones. Basically, you overcompensate for the first hue, then use the second to split the difference:
We’ll work on an example for this one. Here’s the base image (click on the images for a larger view):
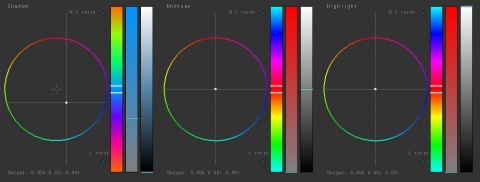
I decided to go with a variation of the blockbuster look on this one, with just a little more green and a little less blue. The first step is to push the cool color into the shadows:
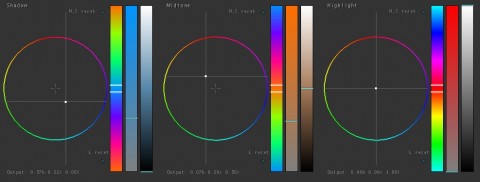
I overcompensated and pushed way more of the cool color into the image then I actually want. What I’ll do next is pull the skintones back to normal in the midtones:
That looks more like what I want. Now, in reality, you’ll go back and forth, pushing and pulling and adjusting till you get the right mix. Just one more step in this one though; I want the highlights to be a little warmer, so we’ll pull those too. After doing that, we end up with this final version of the look:
Not bad, eh? The push/pull method works best with cool shadows and warm highlights (i.e. the “blockbuster” look), but the concepts will apply to most looks. It’s a great way to get normal-range skintones but still have an aggressive look.
Now, in reality this shot’s not finished. This is actually the first example I haven’t done just for the blog, but actually used for a production (the others were from projects I worked on but not the actual grades I did for that project, or some home video I had lying around). This was a 30 second spot for TV, so I went a little further than I tend to do in my examples. On the final for this project, I used secondary keys/qualifiers, windows, vignettes, etc. Below is the final version of this shot, with everything added in. We’ll go back and dissect the secondaries on this one in a later tip:


