Bleach Bypass = Super contrasty, low saturation. A very harsh look, often used in war movies. There are a few variations of bleach bypass that are used frequently: cool (blue), warm (tan), and greenish.
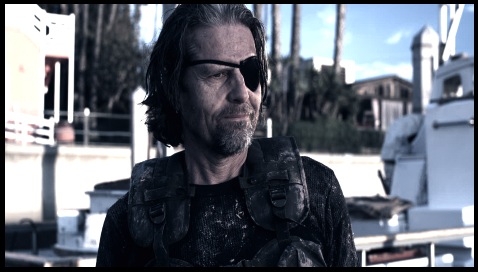
Here’s my recipe for bleach bypass. Start with a balanced image as usual:
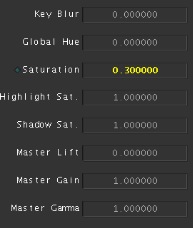
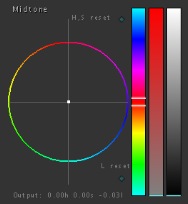
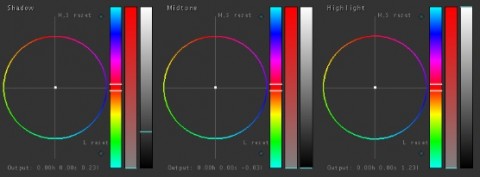
I do a bleach bypass a little differently than you’d expect. My first step is to lower the saturation to .3 and bring the midtone slider down all the way to the bottom:
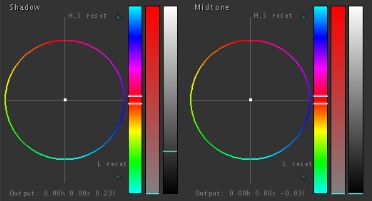
Don’t freak out about the above – the push/pull method works just as well for brightness/contrast as it does for color casts. The next step is to lift the shadows to get some of that shadow detail back:
I do this because even though I want that crushed, high contrast image, I still want to retain a little detail in the shadows. When doing this yourself, just adjust how much of the shadows you pull up to set your contrast and detail.
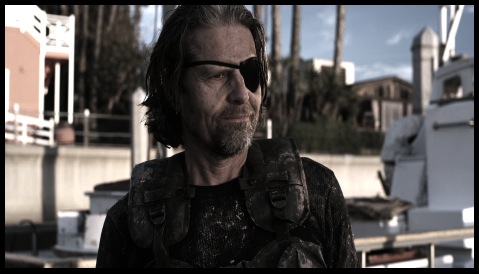
Last, I want that blown-out highlight look, so we’ll pull them up a little too. Pay attention to the background. I don’t really want to blow out his skin, but I do on those white buildings:
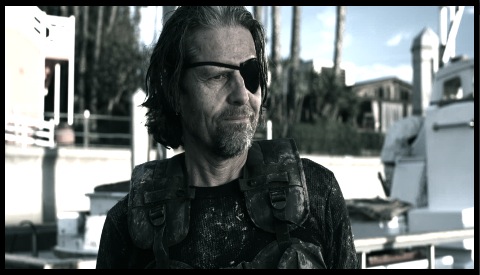
Notice the blown-out highlights and high contrast, typical of bleach bypass, but that it still retains some shadow detail. That’s my recipe for bleach bypass. Think I’m doing it wrong? Let me know!
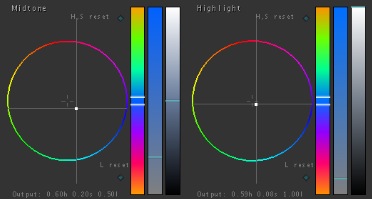
Also, here are some sample images and settings for those variations:
Attached to this post is an Apple Color secondary file for you to use. Balance your image and apply this secondary. The Bleach Bypass look is in the first secondary. Secondary #2 is off, but not empty. Turn it on and change the hue slider for each tonal range to get tinted variations that you might want.
Download for free and use to your heart’s content. All I ask is that you don’t distribute it yourself, just send them here. Thanks!


